
Happy Monday my friends!! I hope you had a great weekend. I spent my weekend cleaning. Spring always puts me in a nesting mood where all I want to do is clean and start projects. One small and super easy project that I did manage to squeeze in was creating a wood hanging poster frame for a few botanical posters that I got last year at the Country Living Fair here in Nashville. They have been sitting around, and I thought they would be a great addition to my springtime decor.
The fun part about the project is that you can do this with prints, posters, kid’s artwork, or even a printable picture. It just adds a fun touch to your piece and allows you to hang it on the wall or on a hook. This project cost me a little less than $15 for supplies, and it took me less than 30 minutes to finish. So, here is what you will need to get started.
Materials for Wood Hanging Poster Frame DIY
- Picture, Poster, or Art Work
- Wood Pieces Pack (I bought this pack at Hobby Lobby for half off)
- Burlap Twine (Hobby Lobby)
- Staple Gun and Staples (Not pictured)
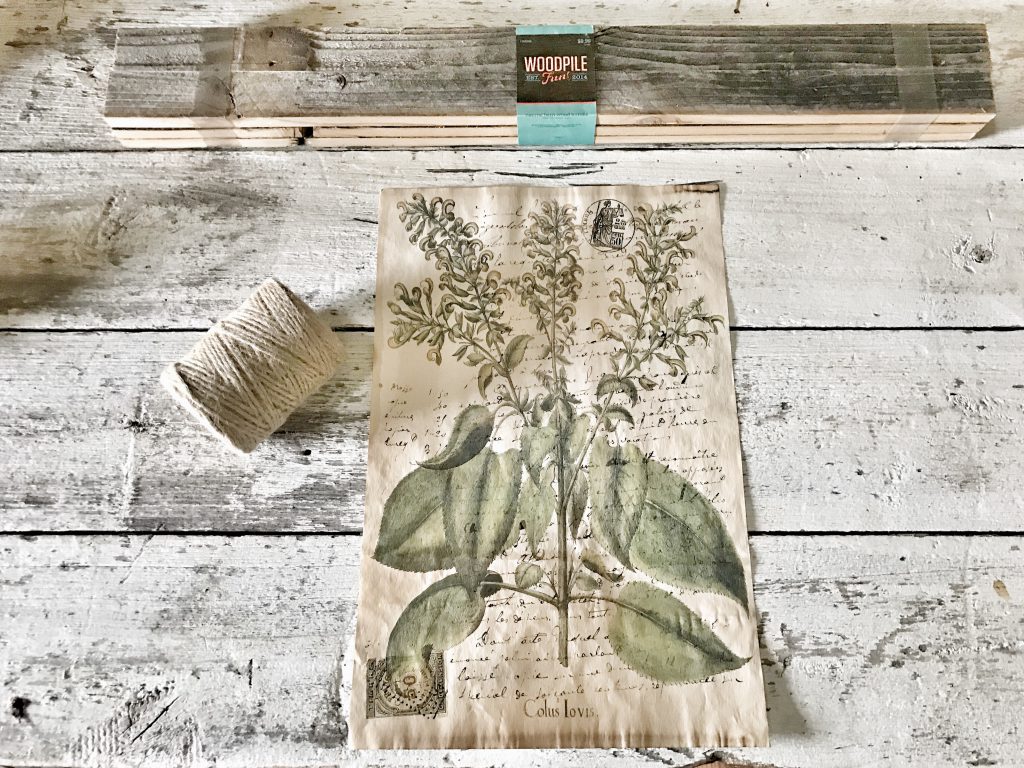
How To Make a Wood Hanging Poster Frame
Step 1
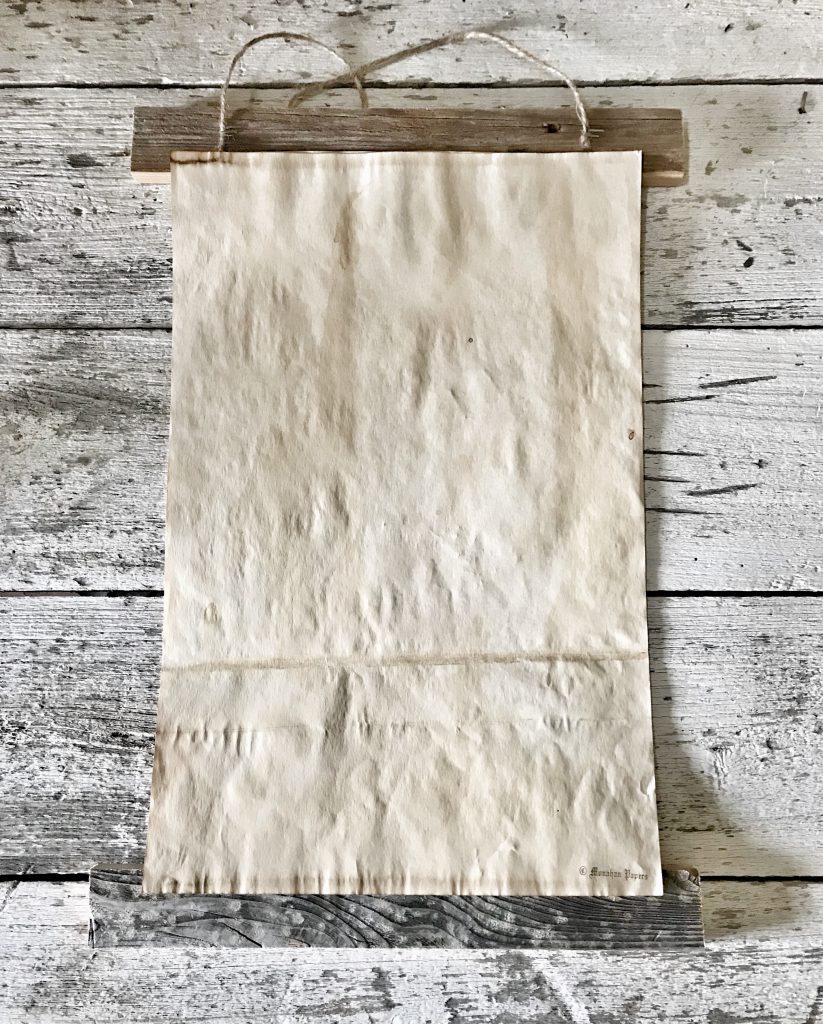
Cut your wood pieces down to fit your poster. Make sure to cut them a little longer than your poster on each side. Then, turn your artwork face down, and place them over your wood pieces overlapping the paper a little bit on the top and bottom.
Step 2
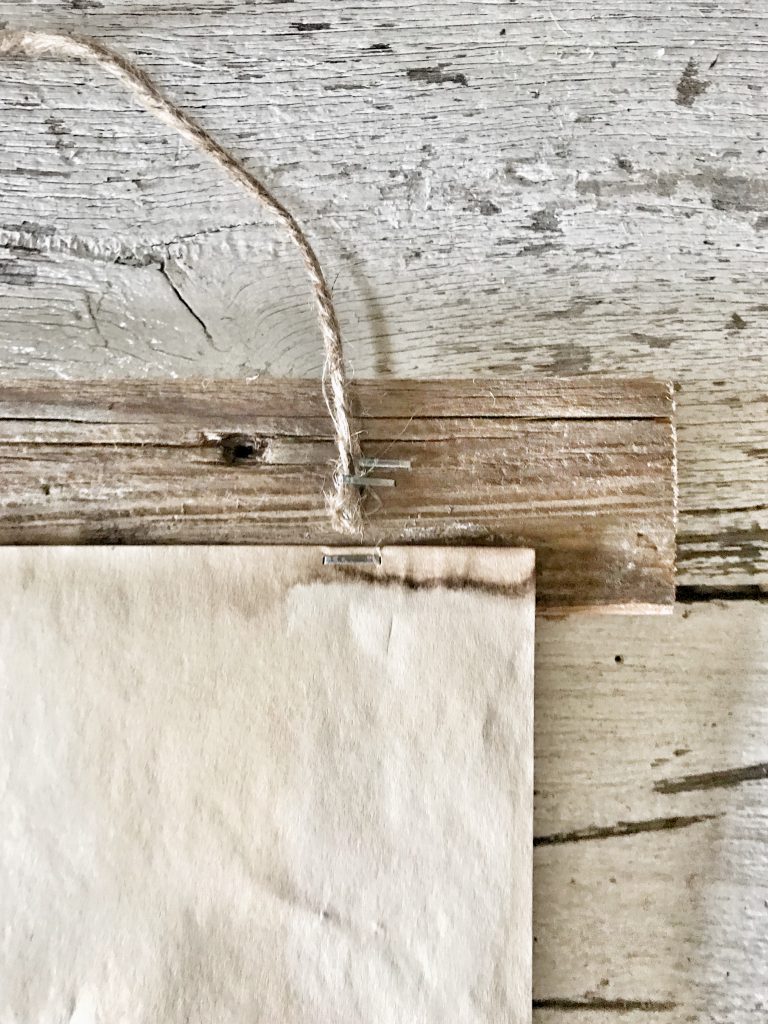
Staple your poster onto the wood on the top and bottom pieces. I only stapled two times on each piece, but you could do more if you want. I was a little nervous that the paper would not be strong enough to support the wood pieces, but it has held up great. No tearing at all.
Step 3
Cut your burlap twine to your desired length, and staple to the back.
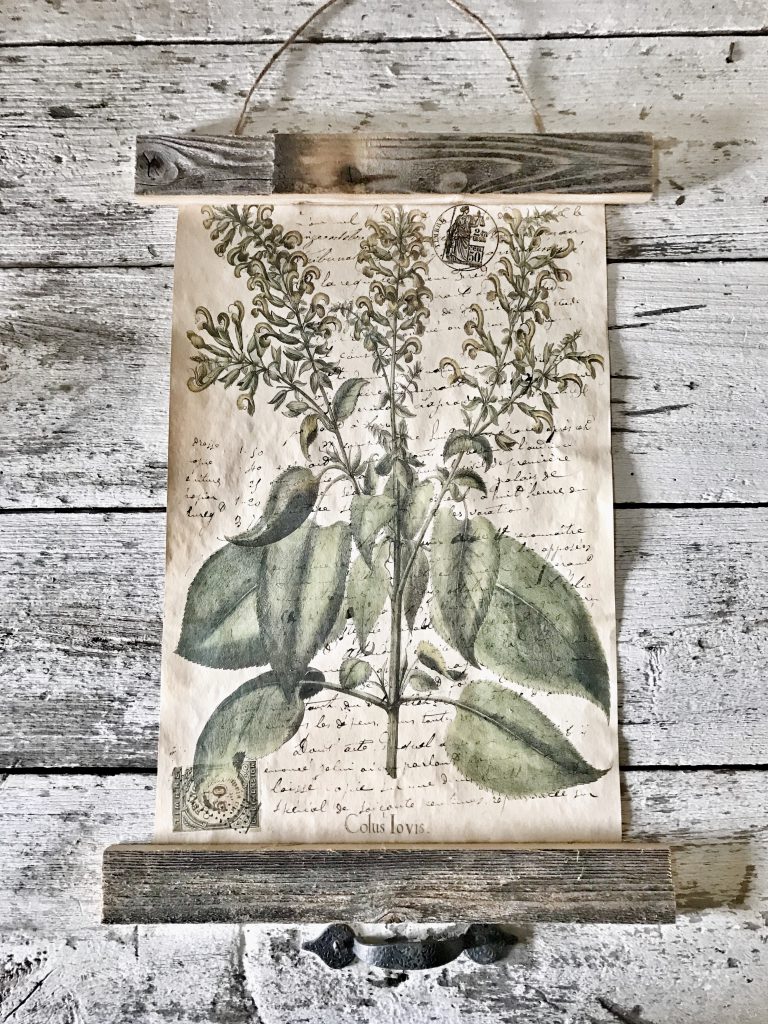
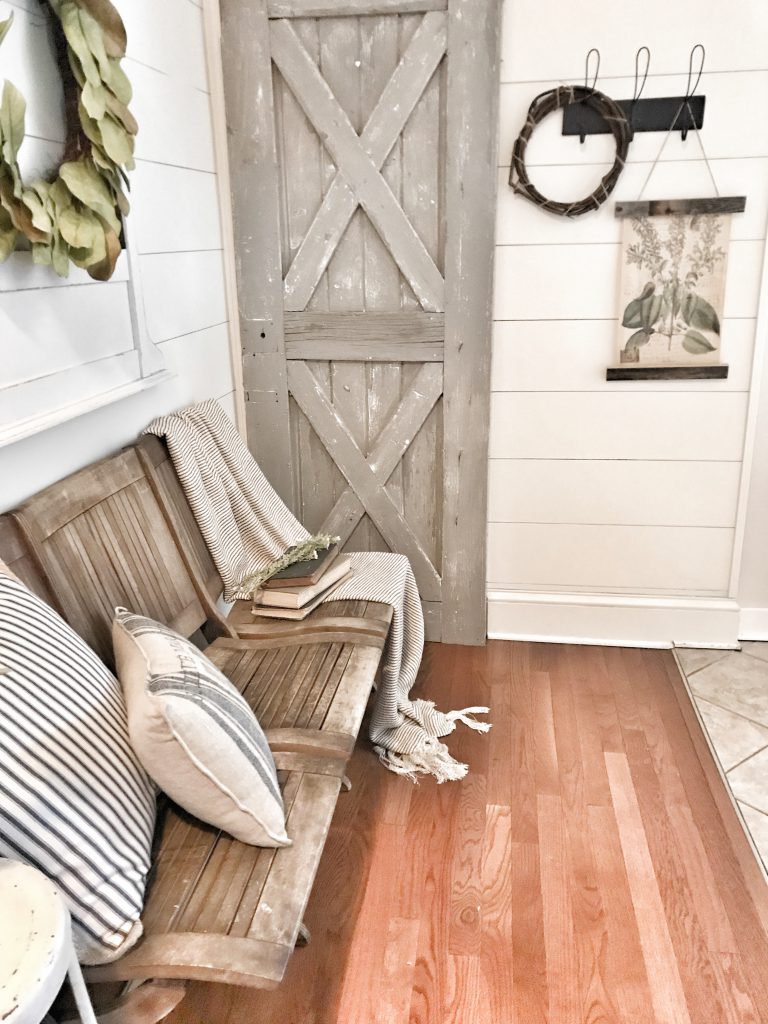
And that’s really it! See, so simple, and so cute!! I just love how much the wood added to this print!
I loved these botanical prints, but I didn’t want to try to find a frame that fit the size of the poster. This project also allows you to customize the size.
I love this DIY because you can literally do two or three of these within 30 minutes. It really is one of the easiest DIYs I have ever done. It adds a little something extra, and it looks super cute too! I especially think this would be a super cute way to hang your child’s artwork. I’m planning to do that with this DIY very soon! I would love to hear what you made with these!! As always, please let me know if you have any questions! Thanks so much for stopping by!!
Pin For Later








Hi Carissa….I love your wood poster hanging idea.
I’ve always wanted to suspend a window like that behind my couch….just haven’t found the right one yet. I love your ideas and you sure keep me inspired. Kept up the good work. I look forward to seeing all of your creative ideas ♥️
Hi Kathy!! You seriously know how to make someone’s day! Thank you so much for you kind comment! I am so glad you can find a little inspiration in my blog. That means so much to me. Thank you so much for reading sweet friend!