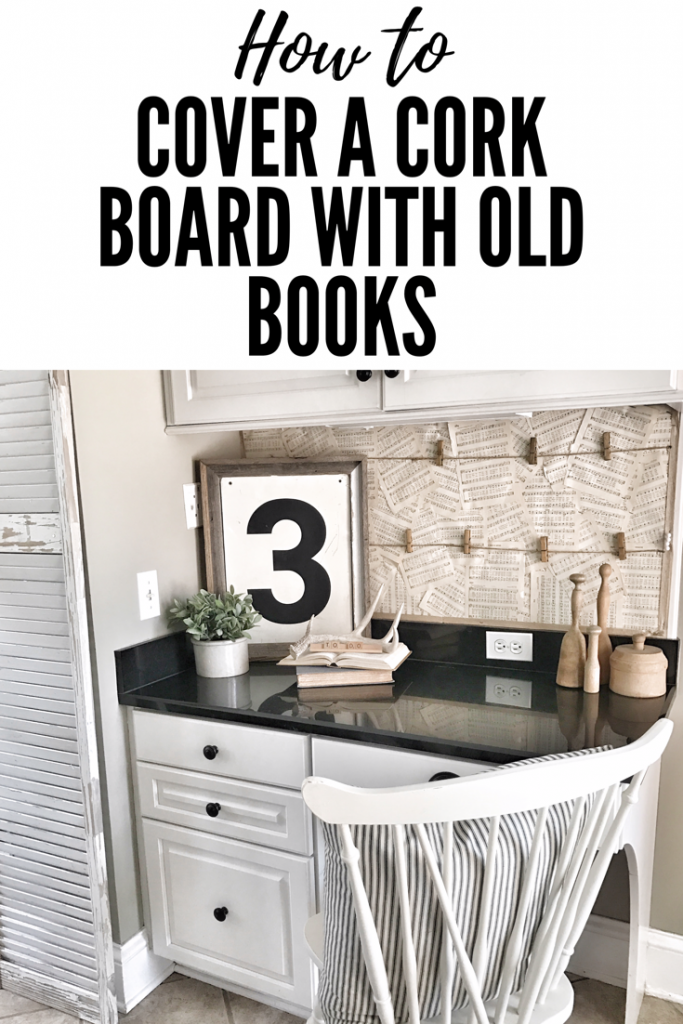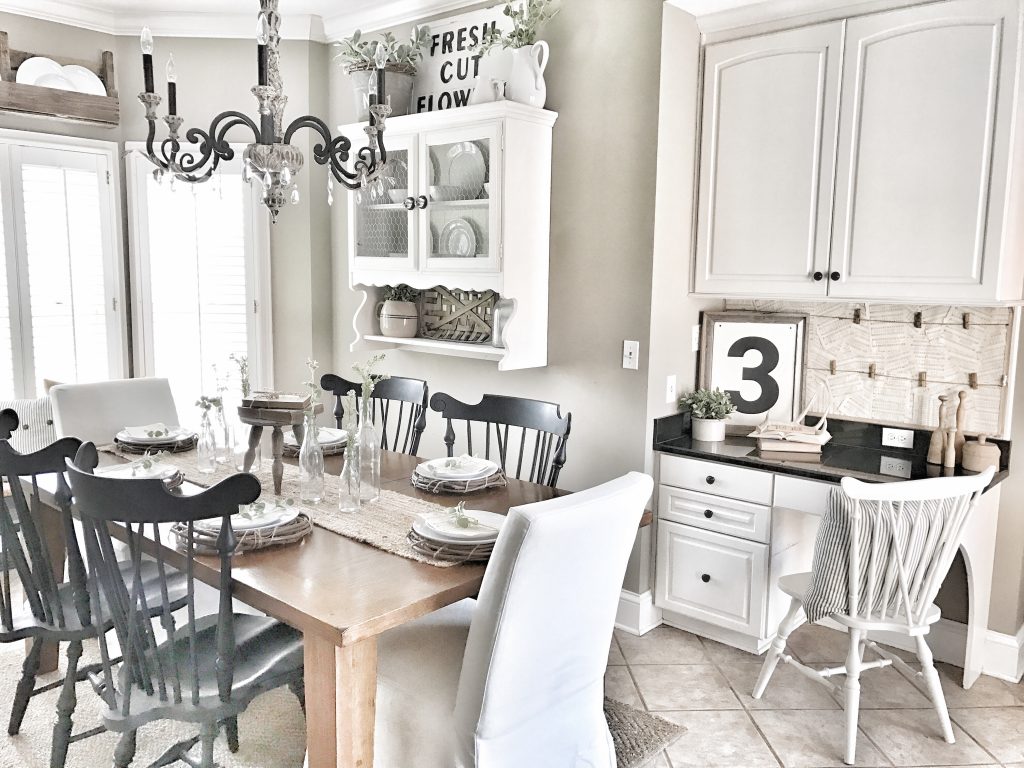
Hey hey! I am so excited to FINALLY be able to share this space without being embarrassed. This desk area is in my kitchen, and it literally catches everything from keys, to mail, to homework folders, and anything else that doesn’t have a place. It’s always a mess. When we moved in, I pictured my kid’s sitting down here to do homework. Let’s just say that never happened. Why? Because I never took ownership of this space. I know that sounds silly, but in this post I’m going to show you how I transformed this space by decorating my cork board with vintage book pages.
This picture shows what I mean by not taking ownership of a space. I threw an old lamp there and covered the cork board with a fabric that I had laying around. I never took the time to make it match the rest of my kitchen. So, I was walking past it last night around 11:00 pm because I’m not getting a lot of sleep these days. I knew it was time to take action becauseI’m 7 months pregnant and I have an overwhelming urge to get my house ready for baby number 3. So, I just started ripping it all down like a crazy person. I had an idea to cover it with old book pages so I started and 15 minutes later, the project was finished.
So, here is what you need for this simple project.
Supplies Needed For Decorating
- Old book or hymnal (I used an old hymnal but you can use whatever floats your boat)
- Scissors (I just ripped the pages out but you can also cut them to give it a cleaner look)
- Stapler or Staple Gun
- Ribbon for a border
- Burlap twine (optional)
- Clothes Pins (optional)
Project Steps For Decorating Cork Board
First, find a book that has beautiful aged pages that give the look you want. If you don’t have them lying around like I do, you can find them at any used book store or antique shop. Next, simply start ripping out the pages and placing them on your cork board. I didn’t want a straight and organized look so I stapled them in different directions. Continue stapling the pages to your cork board or bulletin board until it is covered. I cut some ribbon around my edges to create border, but this step is definitely optional.
You could call the project “done” at this point, and it would look great. I just happened to find some cute vintage clothes pins that I had lying around that I wanted to incorporate into the space. I decided to cut some twine and staple it to the cork board so I could use the clothes pins to hang on the twine. BOOM! My 15 minute DIY project at 11:00 pm was finished. I went to my decorating closet. Yes, I have a closet and garage full of extra decorating accessories. No judging. It actually comes in handy in times like this. I pulled a few items out that I loved and found a perfect mix of vintage items that matched my kitchen style.
That’s it!! So simple, so cheap, and so fun! This project cost me nothing because I already had all of the items. If you like the look of the vintage books, check out my post where I have other examples of decorating with vintage books. Thanks so much for stopping by! Let me know what you think or if you have any questions! Bye friends!


Hi Carissa I was wondering where you purchased your bedding and pillows on the bed? It is exactly what I’m looking for. 🙂 It is a little hard to tell what colors are all in the spread can you tell me what they are? You have a beautiful home. Great job!
Hi Tammy! I purchased most of the bedding from Homegoods. I’m so glad you like it all! Thank you so much for the sweet compliment and for stopping by!