My two sons and daughter have a Jack and Jill bathroom upstairs that connects their rooms. For the last eight years, this room has pretty much been on the back burner of projects. In a nutshell, this space was very yellow, super dated, and lacked function. Well, long story short, last October we were ready to finally tackle this space. The original plan was to update and replace the shell shower, pedestal sinks, lights, and mirrors along with painting the space. We were going to try and keep the floors and just work with them. It just wasn’t in the budget for now to replace them. Literally the night before the project was to begin, this room flooded in the middle of the night due to a corroded waterline by the toilet and pretty much ruined this bathroom and my downstairs living room. Can you say NIGHTMARE?! We woke up to what sounded like a waterfall in our living room. After getting both spaces dried out, it was clear the floors were ruined too. That was a small blessing that came from this mess. I am so happy we were able to do the full renovation to this space because believe me, we needed it. Today, I’ll be sharing the kid’s Jack and Jill bathroom reveal, and I can’t wait to show you how it turned out!!
Jack and Jill Bathroom Before….
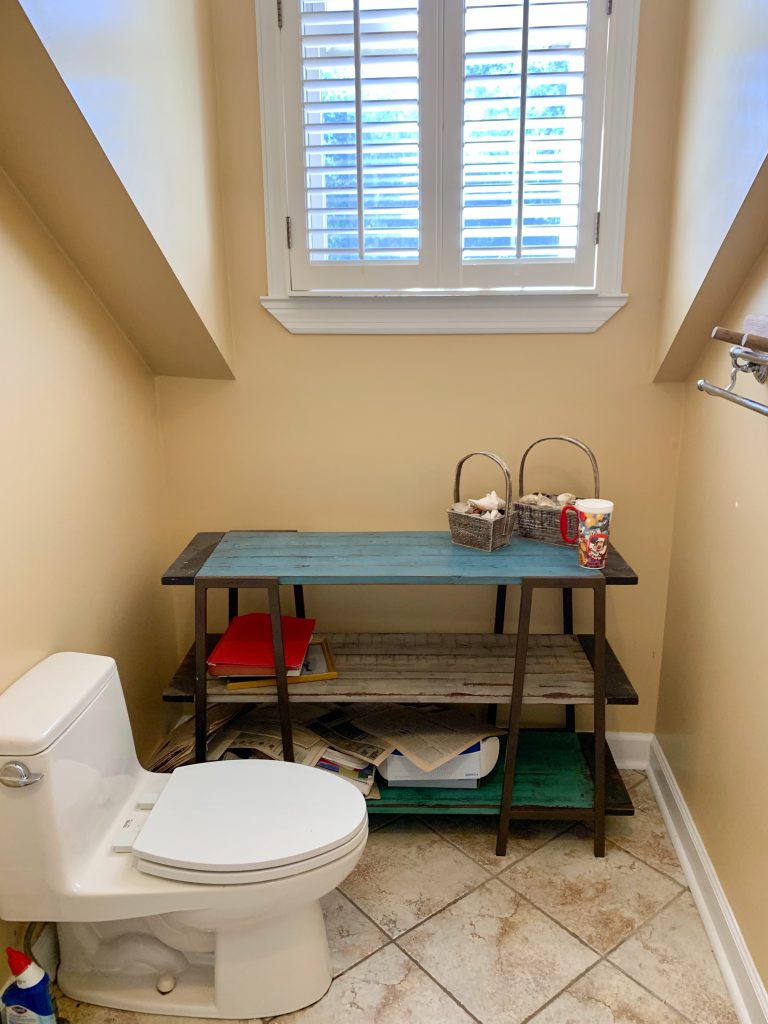
Like I mentioned, this space was very yellow. The tile also had lots of taupe and yellow tones in it that was just not our style. So happy we were able to replace the floors as well.

For the last eight years, my kids maybe showered in this dated shell bathtub a handful of times. The ceiling was so low that you felt like you were showering in a cave especially when the shower curtain was on. It was dark, small, and just not practical.

On either side of the Jack and Jill bathroom were these pedestal sinks. They lacked counter space and we all know that teens need that to get ready. They also didn’t have a place for bathroom storage which created a very cluttered sink area. These sinks had to go along with the mirror and lights.
Jack and Jill Bathroom Sources

I started with a design plan and made sure my choices made sense and worked well together. Below you will find a full list of the kid’s Jack and Jill bathroom sources.
- Bathroom Vanities
- Black Mirror
- Vanity Lights
- Plant
- Hand Towel
- Hand Towel Holder
- Hamper Basket
- Star Floor Tile
- Black Shelves
- Wall Art
- Shower Tile
- Shower Door
- White Waffle Towels
- Toiletpaper Holder
- Shampoo and Conditioner Bottles
- Black Faucet
Jack and Jill Bathroom Reveal

And here is how it tuned out!! Let’s start with the shared toilet and shower space. Because I had to design the space for two boys and a girl, it couldn’t be too masculine or feminine. I went with neutral color tones with pops of black. I chose this pretty and fun star tile that set the stage for the entire design. Choosing the right tile was a very timely task, but I wanted to make sure that I got it right. This tile is neutral, timeless, and oh so pretty. It was also a fun and playful pattern to use in a kid’s space.

I added this black and cane shelf to hold towels and other bathroom essentials. It also was a great place to add some greenery and pretty decor.


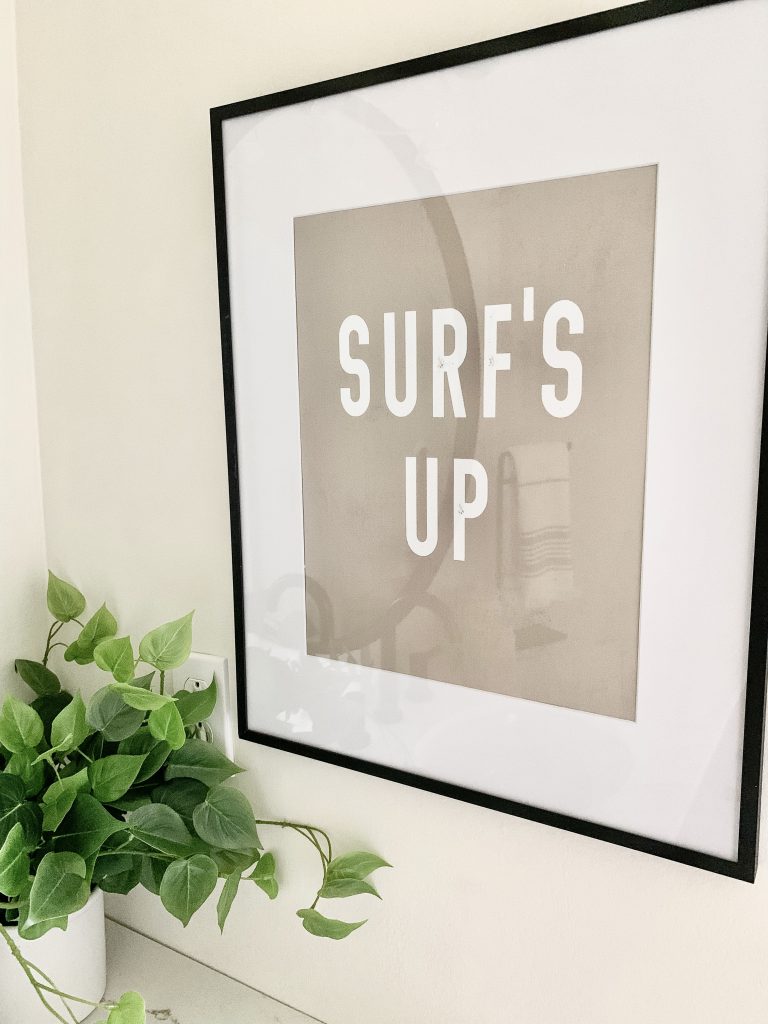
Finding the right wall decor for a boy/girl space was challenging as well. I finally went with a subtle beach theme. This set from BFF Printshop was the perfect mix of the beach theme that I was looking for.
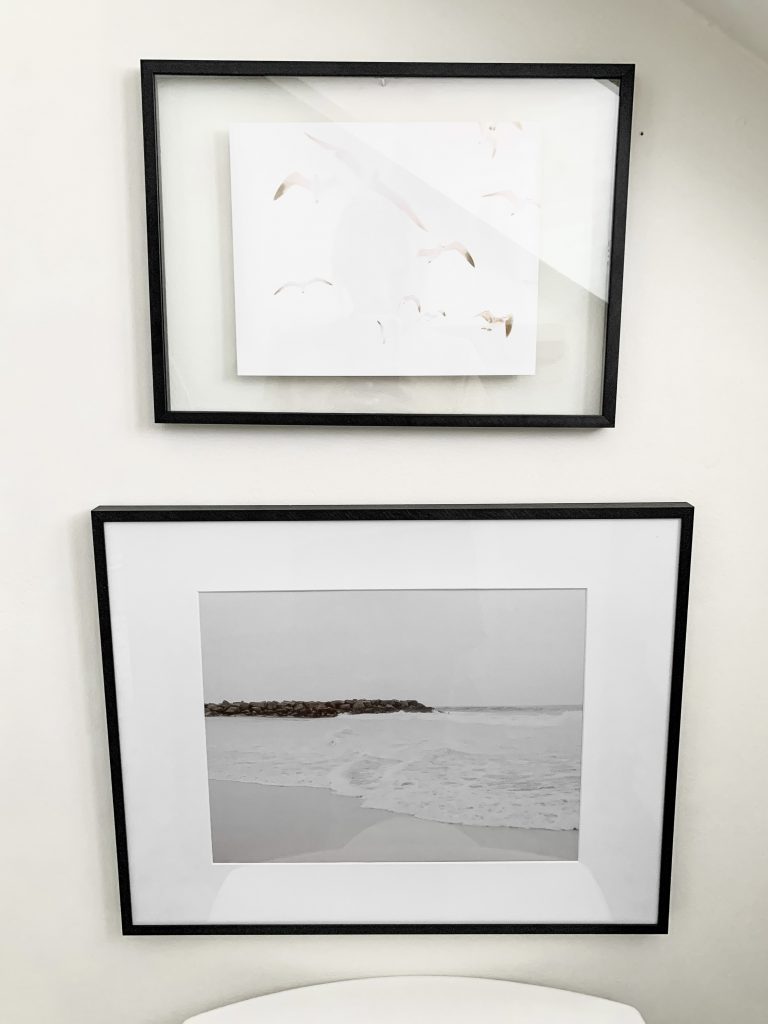

For the towels, I went with these white waffle towels and am so pleased with the size and feel of them. My kids love them as well. They also look so pretty hanging from the towel rack. I also added some wicker accessories along with the wicker hamper to add to the subtle beach theme. Love how this shared toilet space turned out!

Herringbone Shower Details

The showstopper in my opinion is their new herringbone walk-in shower. We decided to do a shower instead of a tub. I chose a sterling white shower base instead of a tiled base for budget purposes, but I think it turned out great. The shower tile is an elongated white subway tile in a fun herringbone pattern. The herringbone pattern added a fun detail and drew the eye up. We also raised the ceiling and added a much needed light to the space. The last detail was this gorgeous glass sliding door that allowed the herringbone pattern to shine.

We were thankfully able to add a niche in the shower for shampoo bottles and a plant of course!

One small detail that I love to add by a shower is a small bench or stool to keep the towels on while in the shower.

Jack and Jill Vanity Details
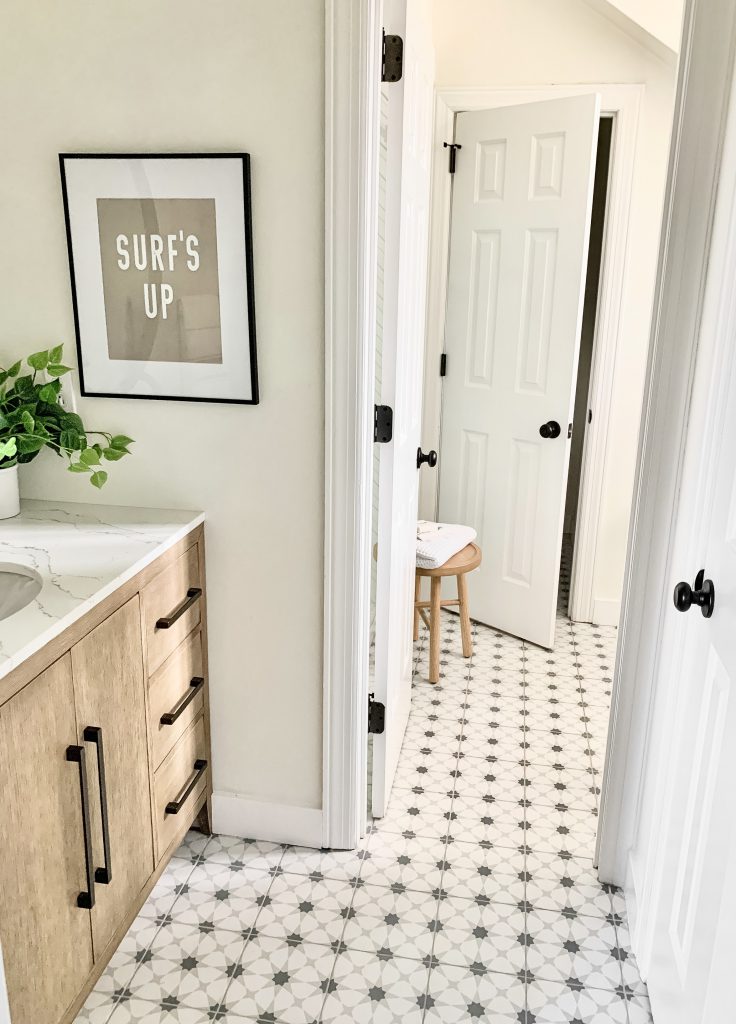
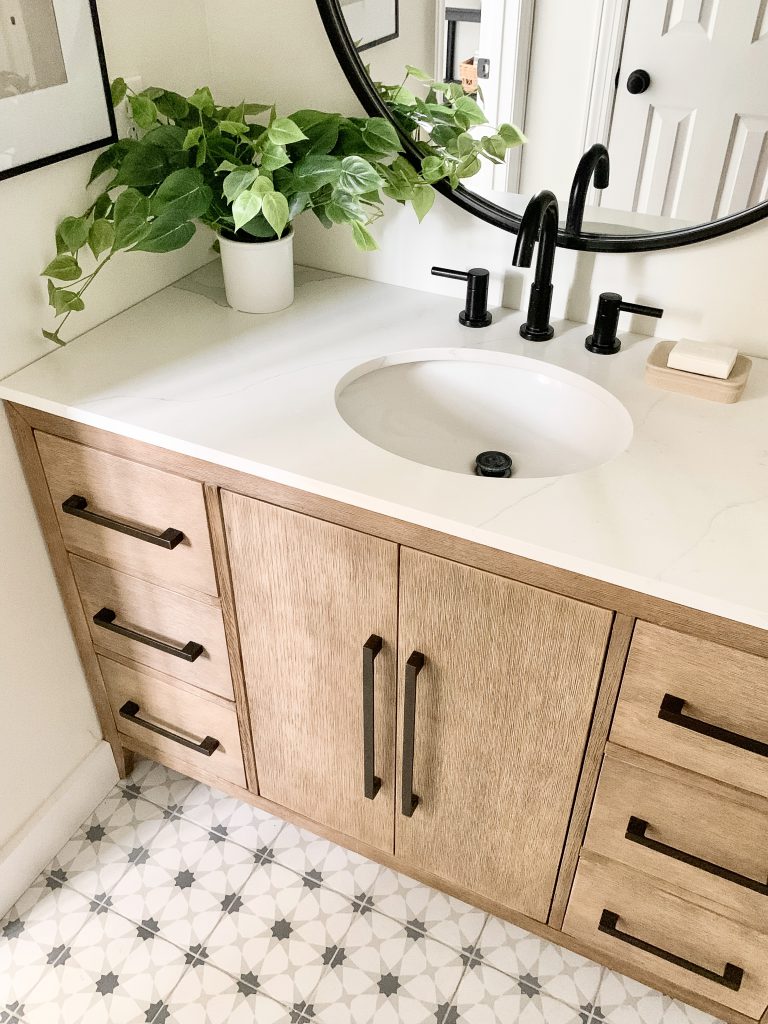
Choosing the right vanities was also a very timely matter. I knew I wanted something that filled in the entire space to make it feel like it was built-in to the space. I also wanted to mix in some wood tones so the vanity was a great place to do so. In the end, I settled on this gorgeous oak vanity with Calacatta Gold Quartz for the top. It truly looks like it was made for this space!
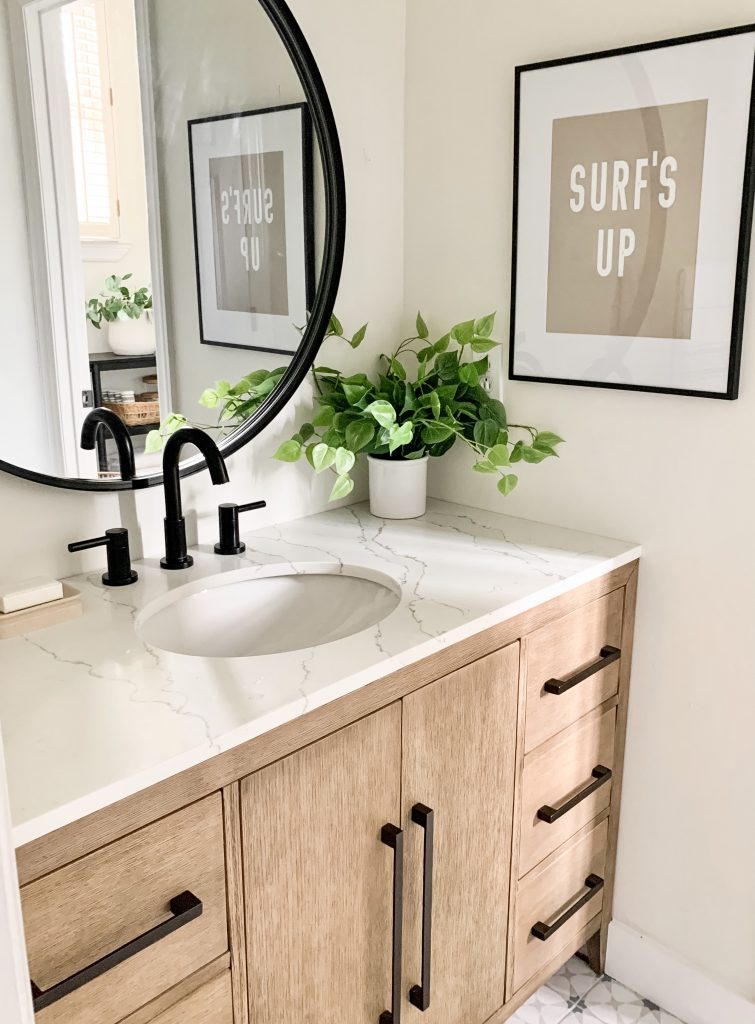

The vanities also had more than enough storage which easily held all of their bathroom essentials. The larger countertops now allow them to easily get ready in the mornings without feeling cramped and cluttered like before.


I paired the vanities with a black faucet, a round mirror, and simple black sconces. Although I didn’t want to go overboard with black in here, I think adding black metals was a great way to have it without it feeling dark and overpowering. It also played very well with all of the neutral tones in this space.

Bathroom Before and After
It’s honestly hard to believe this is the same space. Before I leave you, I wanted to share a few more before and after pictures of my kid’s Jack and Jill bathroom. I hope you enjoyed seeing how this space transformed into a tranquil space that my kids can now relax and retreat in. It was such a fun project, and I am so happy with how it came out! You can also check out my master bathroom makeover HERE.


Shop The Post
Pin For Later


Leave a Reply