Guys, this past week I pulled off the best surprise for my husband! Honestly, it just about killed me, but it was worth all of the sweat and HARD work. When we moved into our home 5 years ago, we really never focused on the garage. All of the random things that didn’t find a place in our house ended up in the garage. I also didn’t help matters much with having a booth and decorating business. Everything from that also landed in there. My husband loves working out and playing basketball and really just being outside. The space that should be his was SO unenjoyable. I thought it would be fun to change that. I decided to clean and organize the garage while he was away on a short business trip and surprise him with a space to call his own. He works so hard for our family and never asks for anything. Yes, it was a huge job but the kids, my parents, and I got to work on this garage transformation, and I love how it turned out.
Before I get started, let me share this nightmare situation with you.
Garage Before

You get the idea. It was so bad. It’s honestly really embarrassing, but this is real life. The first step was figuring out a plan because I only had a little less than 3 days to pull this off.
Garage Transformation Project Plan
- Get bins for organization
- Paint shelves white
- Replace peg board
- Get hooks for organization
- Create piles to keep, sell, and donate
Step 1 – Organize the Clutter
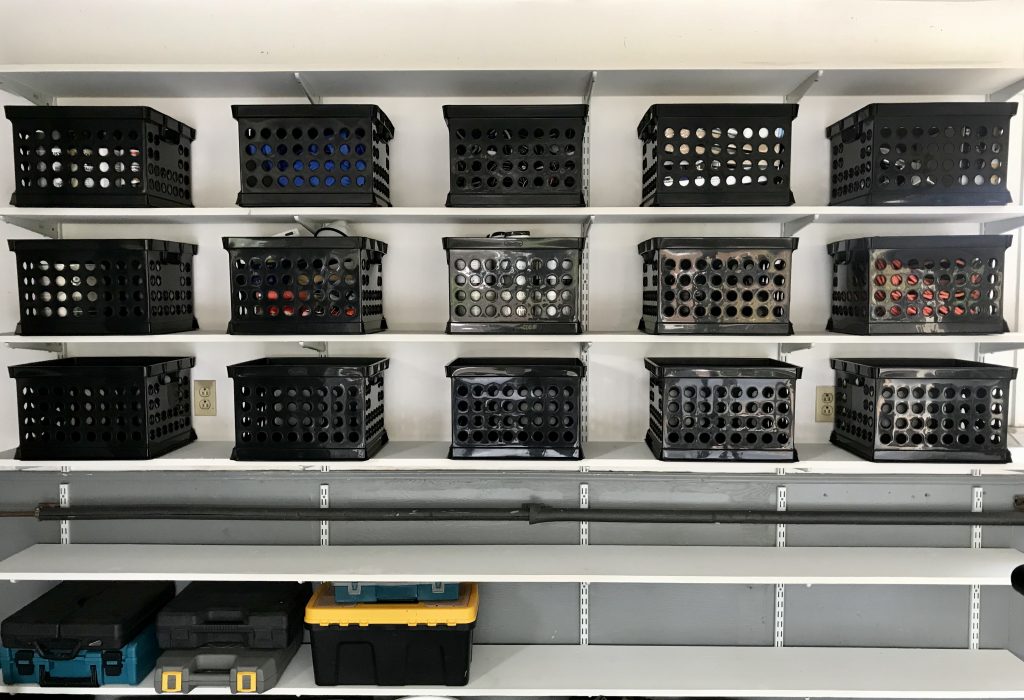
First step of the plan is a pretty obvious one — declutter. I started by going to a few stores and gathering up some storage containers that would work for the built-in shelves. For the colors, I to keep it very clean looking visually by having a color scheme. I found gray and black organization bins because why not make it look pretty too?! I will eventually add labels to the bins to make it easier to find our items, but this works for now. Everything has a place, and it feels so much better!
Before
After
Step 2 – Paint The Shelves
This part wasn’t required, but I really wanted to make it happen. I knew painting these shelves would help this space look more finished and I was determined to go above and beyond on this transformation. Luckily, we had painters at our home at the same time so I had them paint them for us. It was another step I took to make it look better visually, and I love how they turned out.
Before
After
Step 3 – Replace Peg Board
This peg board was actually hidden. We reworked this space in hopes to actually use the peg board for more organization. We took it down and replaced it with a clean white one for only $20. Hopefully in the future, this space will will be a organized and functional working space for him to help me with projects..HAHA.
Before
After
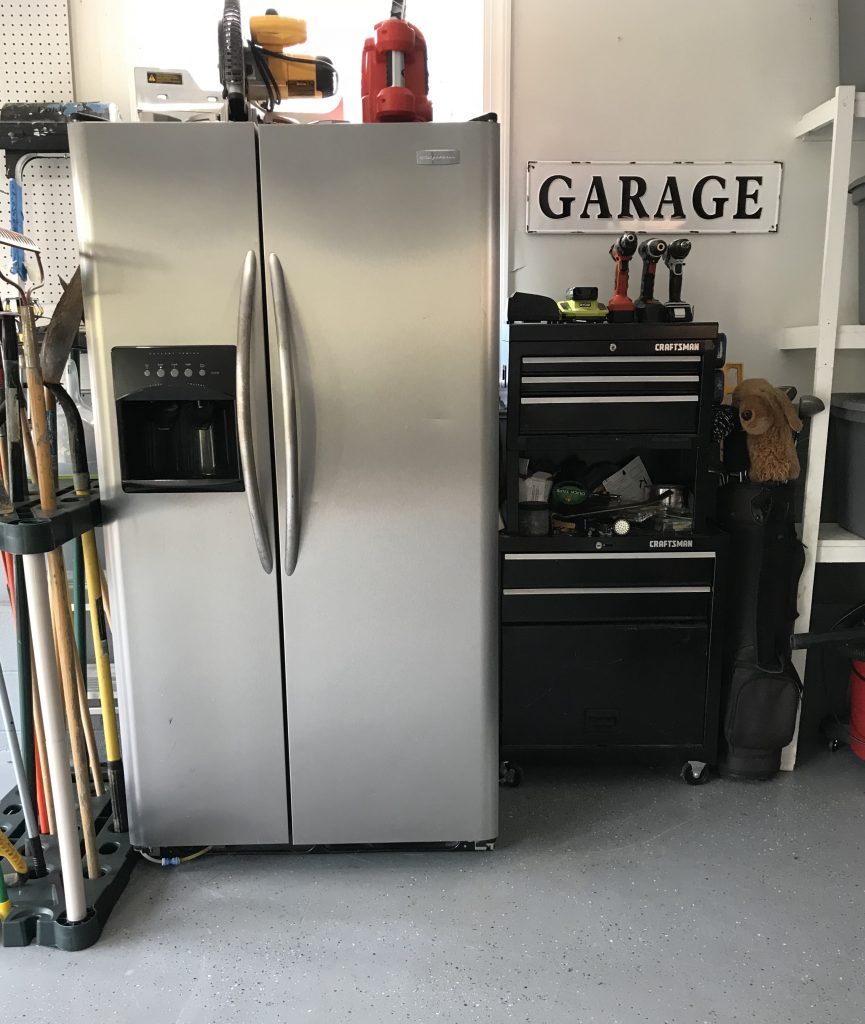
Step 4 – Get Hooks For Organization
Every garage needs hooks. These are crucial for garage organization. We added his lawn equipment to the wall which is going to clear up space and make it easier to find and store away when he’s finished. I love how neat and organized this space feels now.
Before
 After
After

Here are a few more images from this transformation.
To say he was excited would be an understatement. Actually, confusion is a much better way to describe his reaction. He had no idea this was coming. You can watch my saved stories highlights on my Instagram to see his reaction and the whole process from beginning to end. It honesty was the best gift I could have given him to show how much he is loved and appreciated in this family.
I truly hope this post inspires you to organize a room in your own house. Maybe even surprise someone with by cleaning up or organizing a space for them. I promise, they will appreciate it. All of the hard work, time, and effort is worth it in the end! Thanks so much for stopping by the blog and checking out this garage transformation project.


 After
After


Lol looks like my garage!!! Great job!
Hi Renee! It was a nightmare. So much better now. Thanks so much!
Great Job! That is our next planned project. It makes me happy to see a wife do something nice for the hubby, especially those that help us out SOOOO much. Such a lovely gesture. The little things in life that mean so much!
Thank you so much, Lilly! I thought this was a fun way to show him how much he was appreciated. Thank you so much for your kind comment! You made my day saying that!
Girl- shut it!! I can not believe that you did this in 3 days. And it looks amazing. You are freaking super woman. I’m sure your hubby loved it.
You are so funny!! So happy you like it too. It was a TON of work, but so worth it. He still loves it one year later. Thanks so much sweet friend!