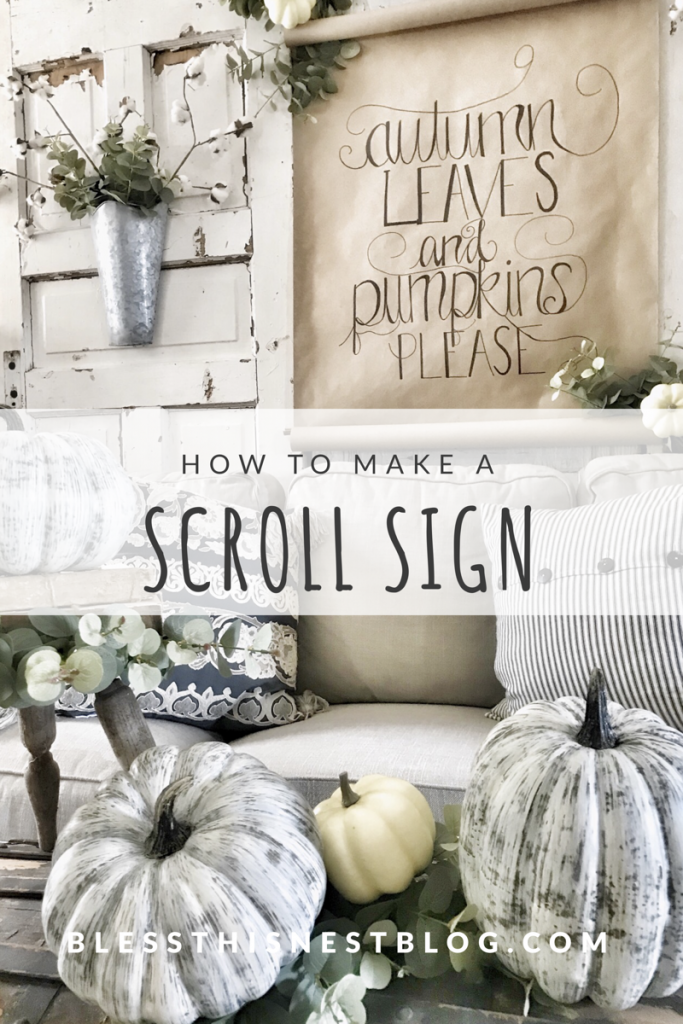
Hey guys! So, I believe this project takes the cake for the cheapest DIY project I have ever made. I’m going to show you how to make a scroll sign for a grand total of……$5!!! That’s my kind of DIY, and all it takes is a roll of Kraft paper and some items you have laying around the house. Such a fun, cheap, and easy way to decorate your home for the fall!!
I have been searching high and low for something fall-ish to go behind my couch. I knew I wanted a sign but I just couldn’t find the right one. Then, I was going to just write my own fall quote on a chalkboard but that really was not what I had in mind either. Hmmm….I know, I know, such problems I have, but it was seriously bothering me. Then it hit me to add a little spin to the chalkboard idea and use Kraft paper. Yep, that’s all you need and the rest of the items I had laying around the house. Here is a little list of what I used.
Materials:
- Kraft Paper
- pencil
- Sharpie
- ruler
- twine
- clips or small clothes pin

Step 1 – Measure and Cut Paper for the Sign
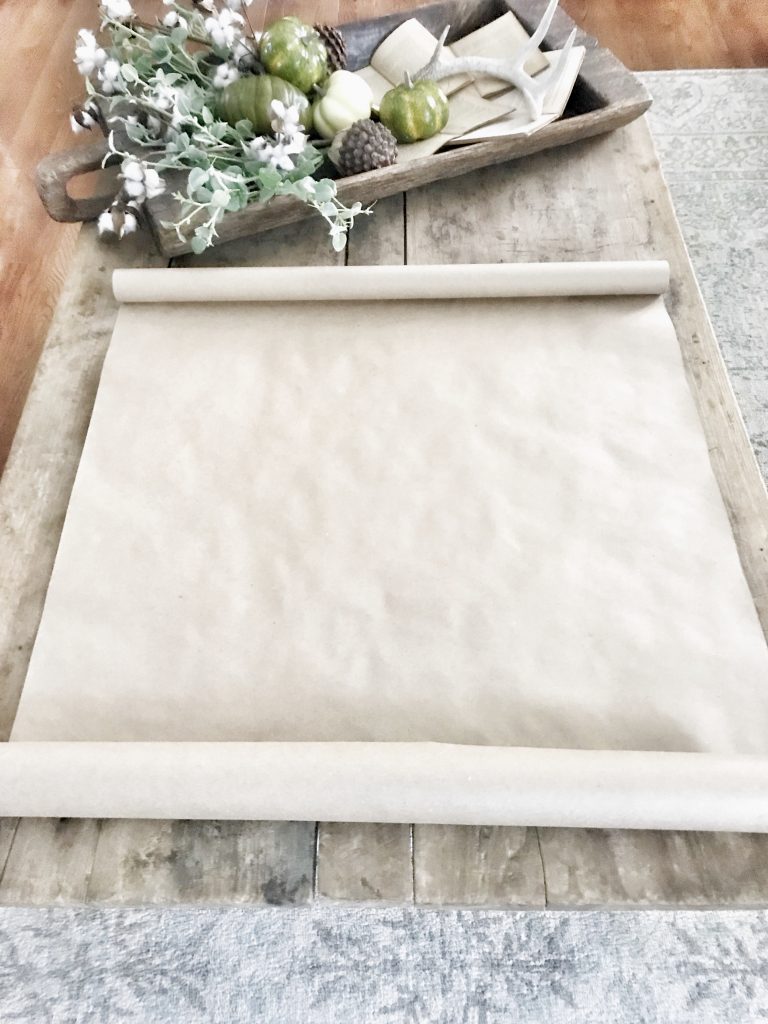
I started off by rolling out my paper to the size I wanted it to be. Make sure you leave enough room at the bottom for it to roll. This gives you the look of a scroll so this step is important.
Step 2 – Pencil in Wording on the Scroll Sign
Then, go ahead and choose what you want on it. I obviously chose a fall quote because it was going with my fall decor. The fun part about this project is that you can do one for each season, holiday, or event that is going on. I’ve already made another one for Thanksgiving and Christmas! Next, I took my measuring tape and made straight lines softly with a pencil to make sure my words were going to line up straight.
Now, the kinda hard part begins. I am NO artist, but I can do simple fonts like cursive and large print so that is what I decided to do. The trick I’ve learned after lots of practice is to add a shadow effect to your letters. The great part is that you are doing this step with a pencil so it’s okay to mess up. Just erase and start over. I also added some fancy squiggly lines to give it an extra pop.
Step 3 – Fill in Wording with Marker
Now, just grab a Sharpie and start tracing your letters. Also, don’t forget to color in your shadow effect. This part really starts to make your sign look like a pro made it even if you are an amateur like myself. See, doesn’t it look so much better now?!
Step 4 – Secure Finished Scroll Sign
Alright, hope you are still with me. The last step is super easy. Now you just need to secure the top and bottom. Thread your twine through the center of the top paper roll. Then, cut and tie off to your desired size.
The bottom scroll can be secured in different ways, but I decided to use small clothes pins only because I had them laying around my house. I clipped them on the back of the scroll and that secured it from rolling. You can see them in the picture below. Easy peasy! Am I right? Not bad for $5!!!
And here is it!!! I just love it so much!! I added some fall greenery to make it even prettier!!
I was a little nervous this was going to end up looking like a kindergartener tried to do it but I think it turned out pretty awesome. The whole project took me about 45 minutes but only because I had to do my font very slowly because like I said earlier, I am no pro. If you happen to be gifted in that area than it should take you no time. I really hope you enjoyed this DIY as much as I did. I can’t wait to share with you my Halloween scroll sign soon!! As always, thank you so much for stopping by, and let me know if you make one of these guys! I would love to see it!!
xoxo- Carissa


This is great! I can’t believe no one commented in three weeks. I used to get paper like this at the dollar tree for the sole purpose of wrapping presents in natural paper. Then i could decorate them with twine and things from outside like pine cones or rosemary. This is right up my alley! I don’t have clothes pins tho-but am very resourceful! anyway……want to share that i really like this! and Go Jesus!
Hey Lorilyn! You are the sweetest! Love the idea of using it to wrap presents! Thank you for visiting and for your kind words!!
I just found this I truly love this and plan to make this soon, thank you so much for sharing your talent and
Taking time to do so I appreciate this so much
Jean george
Hey Jean! That makes me so happy that you are going to make one for yourself! I appreciate your kind words. It means so much to me that you enjoy reading my blog! Thank you!!!
I love how such a simple idea can make such a bold statement! It really changed this room in a unique way. Awesome job! I love all of your decor tips a design they have brought out my inner ” design star”. Can’t wait to see what you bring to life for the next season.☺
Hey Erin! I am so glad you liked this DIY!! You are so kind and your sweet comment made my day! Thank you so much for stopping by!!
Love this idea! Also, LOVE your couch cover may I ask were did you get it from? I’ve been looking for a new one!
Love this project! Have seen a lot of these scrolls for sale and hoping to try diy it myself. I’m curious if you think it would be possible to have more than one quote and be able to roll it up or down each season? Thanks
Hey Cindy! Go for it girl! It’s such an easy project. Yes, you can make one for each season or holiday and just roll it up and tuck it under. I have used the same scroll for two different ones but you can actually do more. Thanks for asking! Have a great day! Good luck on your DIY!
Oh, my gosh, I absolutely adore this!! Oh, and your decor?! Goals!!!!! Thank you so much for sharing such a fun project. I can’t wait to make this!!
Lisa, thank you so much for you sweet comment. I am so happy you liked this fun DIY. Good luck!!
I love this idea…so beautiful. I am making one right now!!:-)
Yay! So happy you like it! Thank you so much! Have fun making one!
I love the pumpkins are they real how did you do that.
Hey Sheila! Thank you so much! I actually bought them like that from a store called Old Time Pottery.